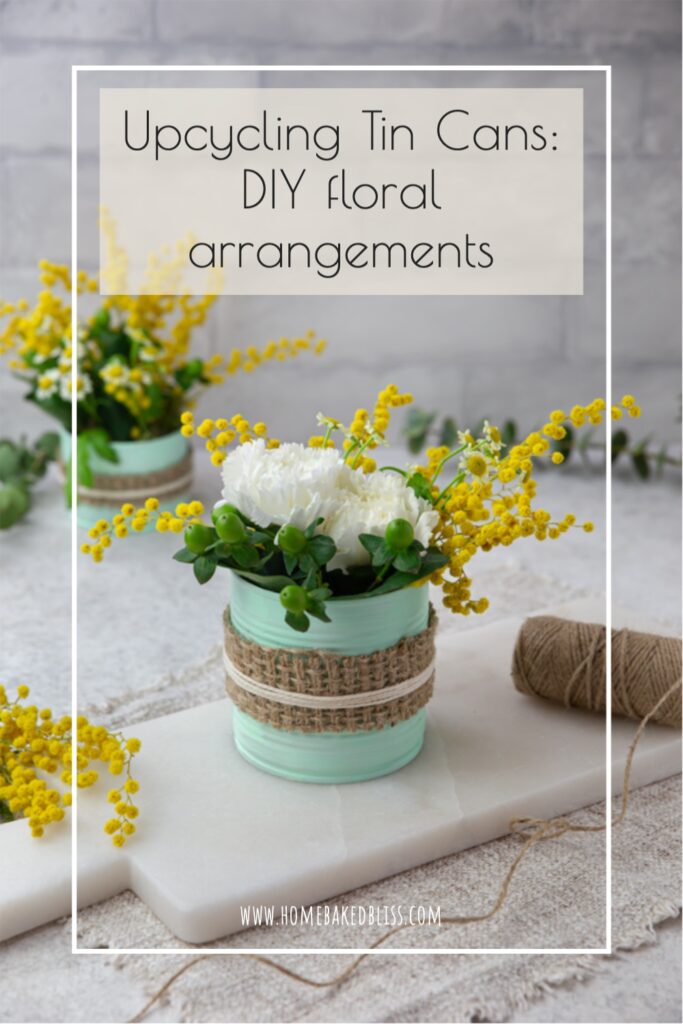
Upcycling Tin Cans: DIY floral arrangements
26 March 2021 by Natanja
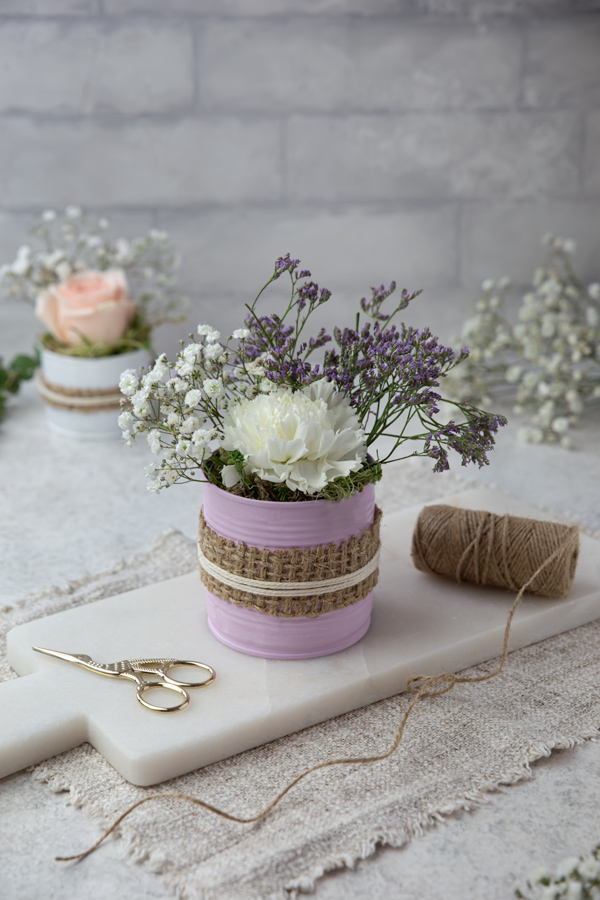
An easy and beautiful way to upcycle your tin cans: these DIY floral arrangements with fresh flowers and greenery make a stunning décor for your home or homemade gift!
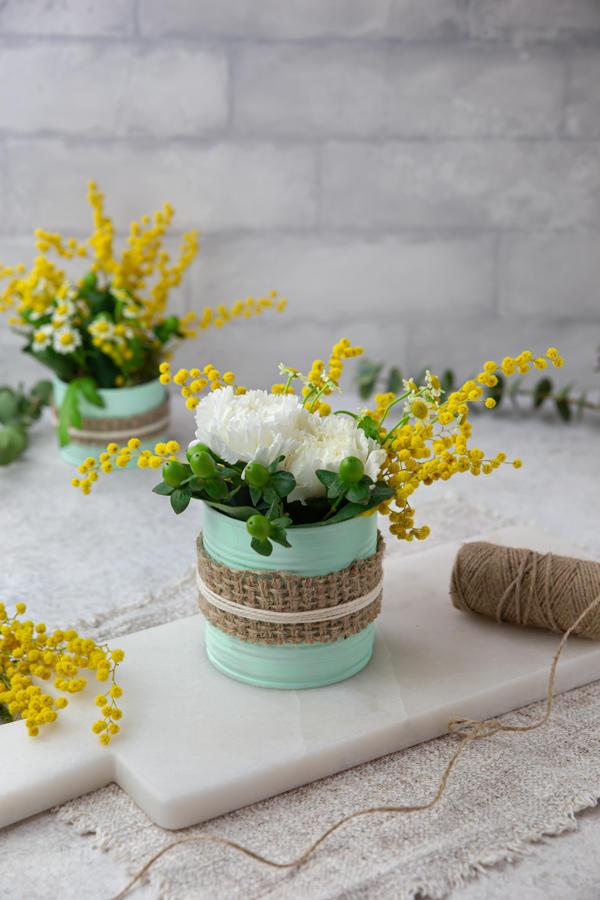
Upcycling has been all the rage lately, and for good reason! There are so many creative ways to reuse the things that are already in our home. Today we are working with tin cans, something you probably have sitting in your recycling bin right now. These sturdy little things are ideal for a number of uses such as pen holders, storage containers, luminaries and various other things!
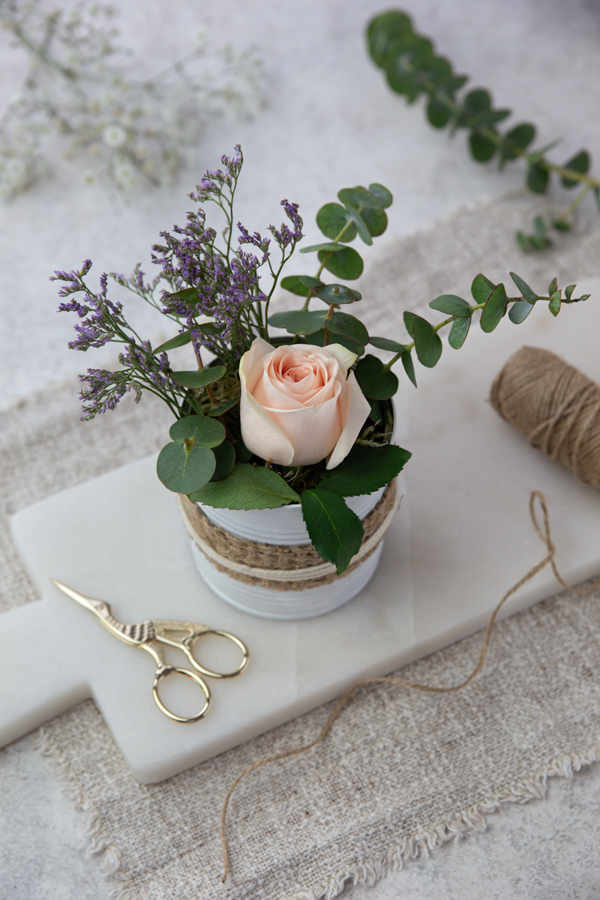
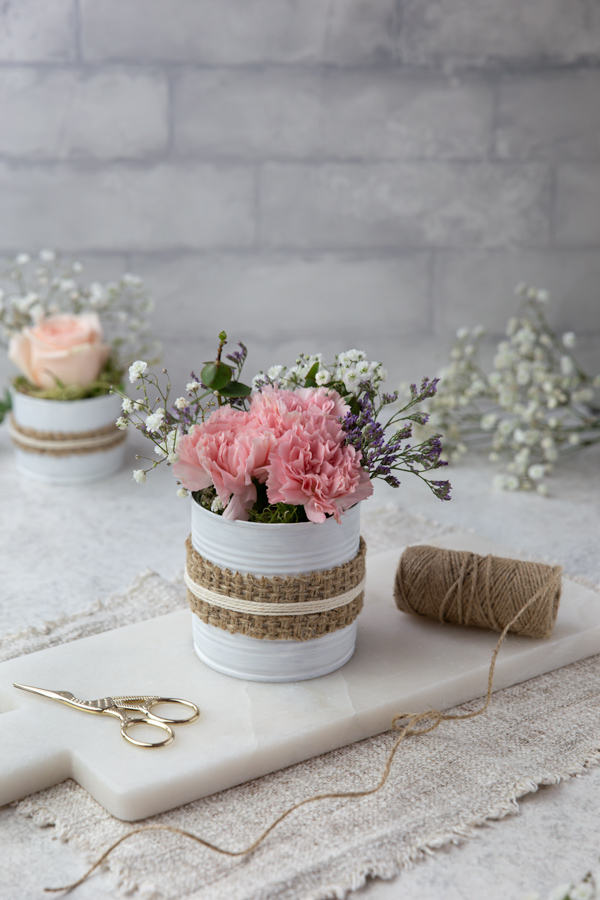
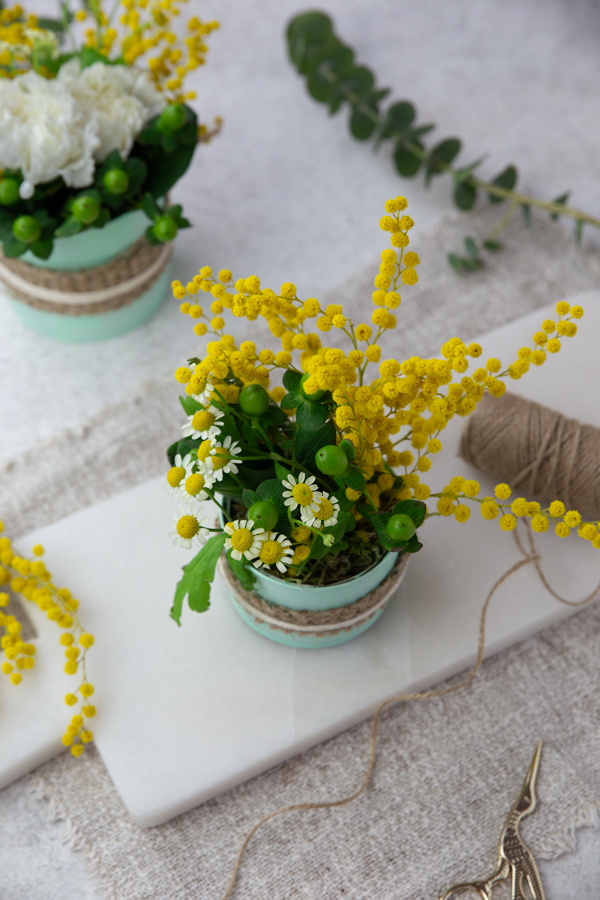
Today we are turning them into pastel-colored floral arrangements, perfect for spring or summer! As mentioned, they also make wonderful homemade gifts, for Easter, Mother’s Day and birthdays. The best part is, that you can customize them to your heart’s desire and use materials that you may already have at home – such as old fabric strips – or flowers and greenery from your garden.
How long will my DIY floral arrangements last?
That’s a little hard to define, as it really depends on what type of flowers you are using and how fresh they are when you purchase them. However, they should definitely keep for at least 1 week and up to 1 and ½ weeks, if you are working with hardier varieties.
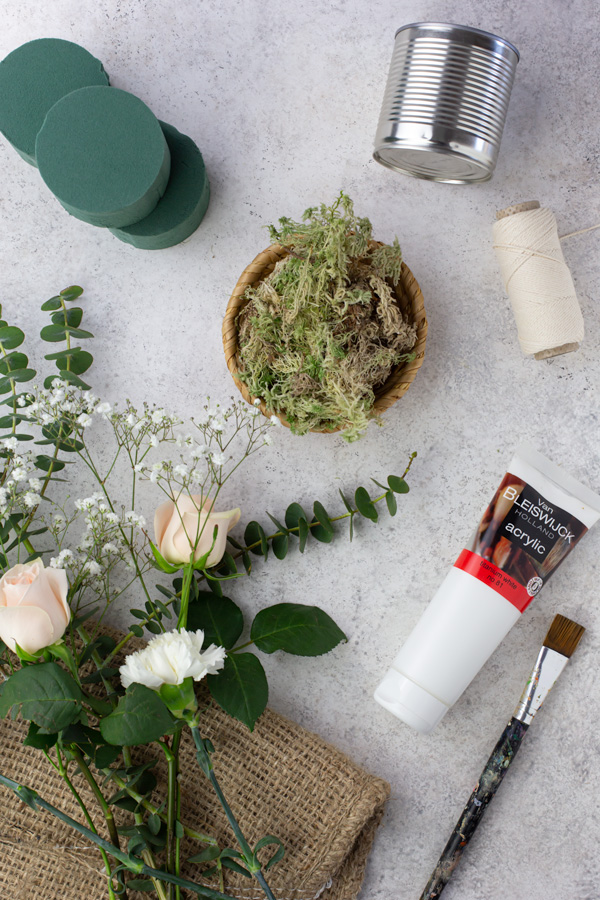
For this DIY you will need the following things:
- cardboard (to use as a work surface)
- clean and dry tin cans (I used 8.5 cm ⌀ for regular and 7.5 cm ⌀ for smaller ones)
- paint brushes with soft bristles
- acrylic paint, white and colors of choice (available at craft stores)
- hot glue gun
- sturdy fabric to wrap around the cans (I cut up an old coffee bag that I purchased at a craft store)
- cotton twine (available at craft stores)
- round floral foam
- dried moss (can be purchased at flower shops or craft stores)
- flowers and greenery of choice, such as mimosas, carnations, roses, gypsophila, eucalyptus,…
- wire for flowers and greenery with thinner/softer stems, optional
Let’s begin!
If you are doing pastel tones, begin by mixing the white acrylic paint with a few drops of your colors of choice, till you get the shade you want.
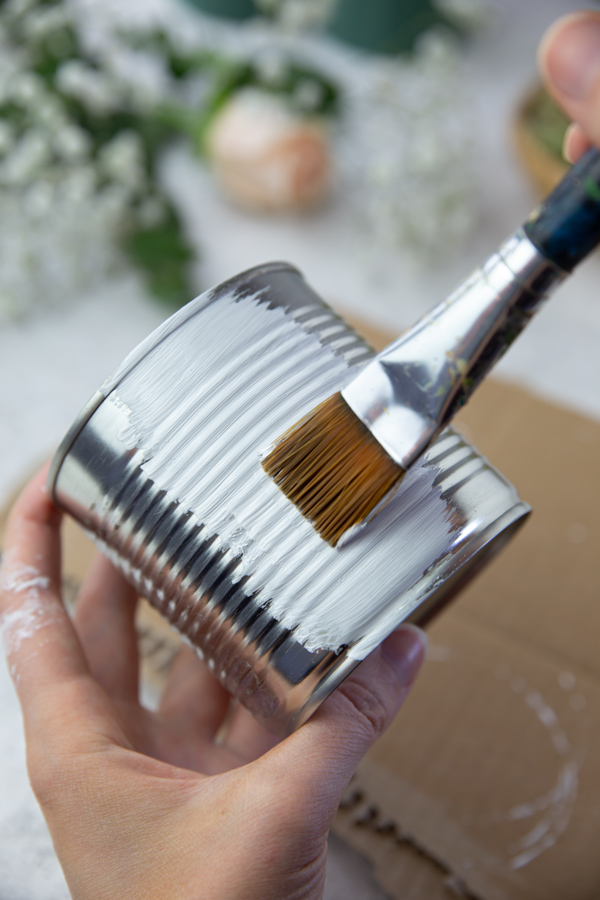
Paint on a thin coating as your base and let it dry completely. Use a hair dryer to speed up the process. Paint on a second coating and let it dry again, preferably overnight. If needed paint on a third coating, until you are happy with the coverage.
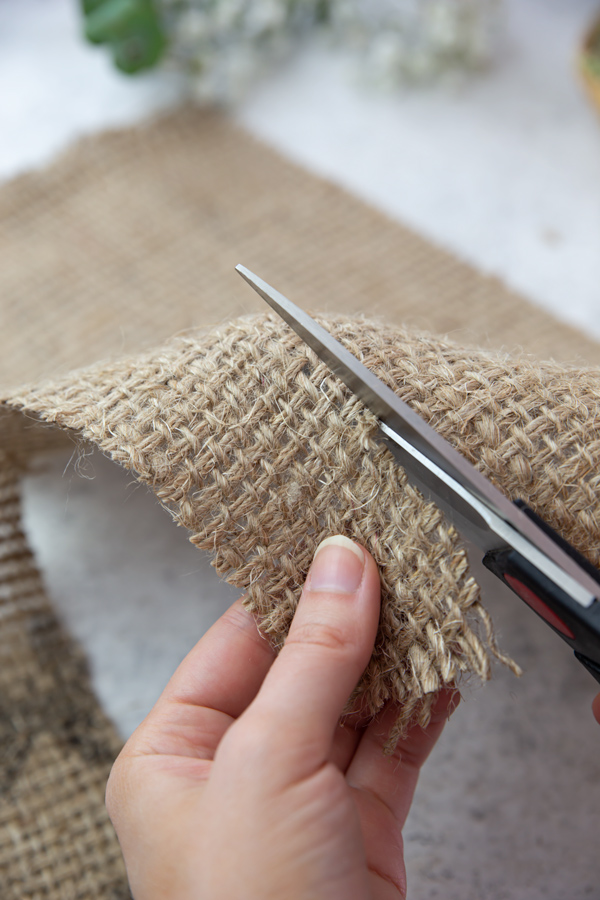
Once your tins have completely dried, measure the outside of your cans by holding the fabric against it to measure the length you need. Cut it into strips of your desired width. (I cut mine a little over 3 cm wide.)
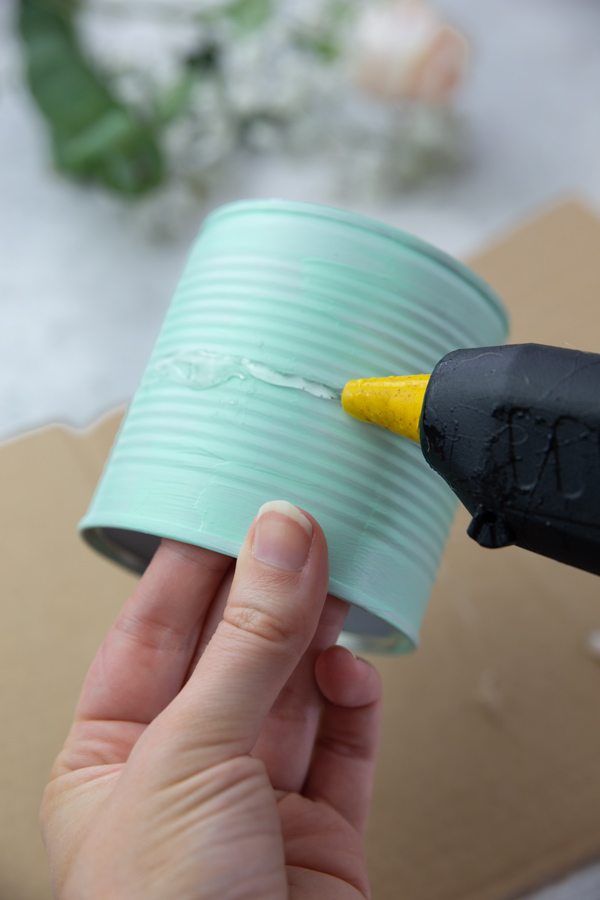
Hot glue the center of the cans all around and quickly stick the fabric onto it. (Be careful – the glue is very hot!)
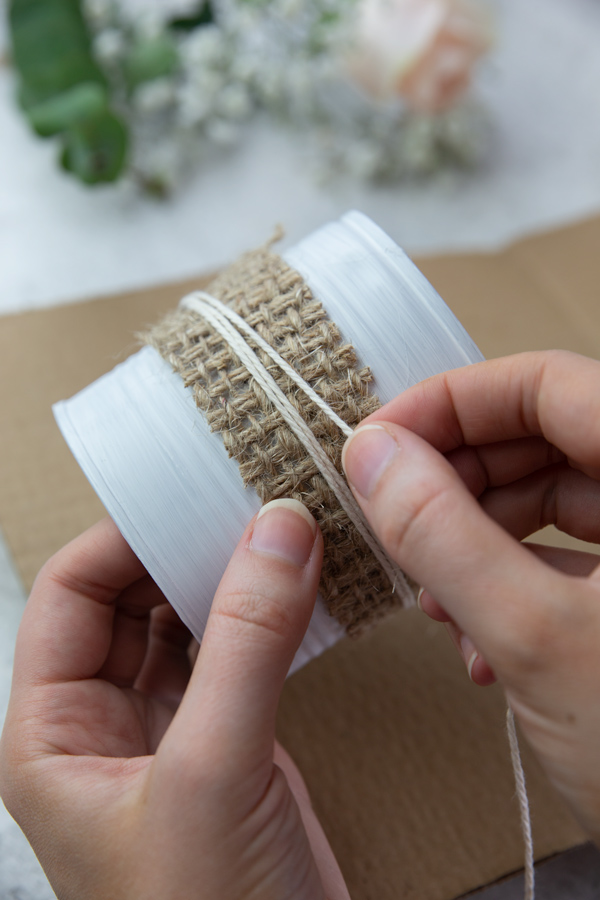
Fasten the yarn with a dab of hot glue and wrap it around the can. (I wrapped it 4 times.) Cut off the end and fasten it with a bit of hot glue as well.
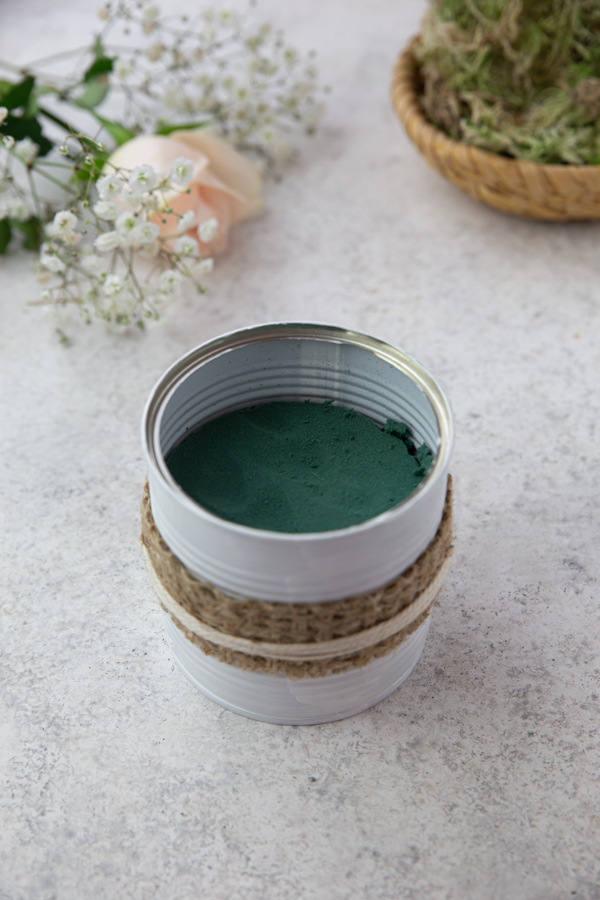
Place the floral foam into the tin cans. If the foam is a little bit too wide, simply press it firmly down, as the edges of the can will cut off any excess.
Pour enough water onto the floral foam to soak it completely. It’s better to use too much water as too little; you can always pour any excess out. Floral foam can take on a lot of water, so pour slowly and generously until it is fully soaked.
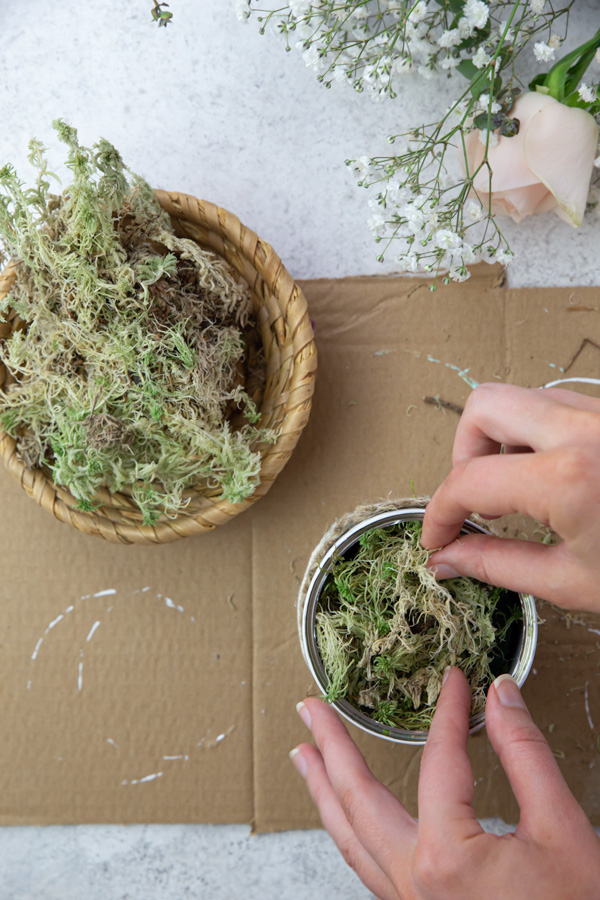
Add the dried moss as a base.
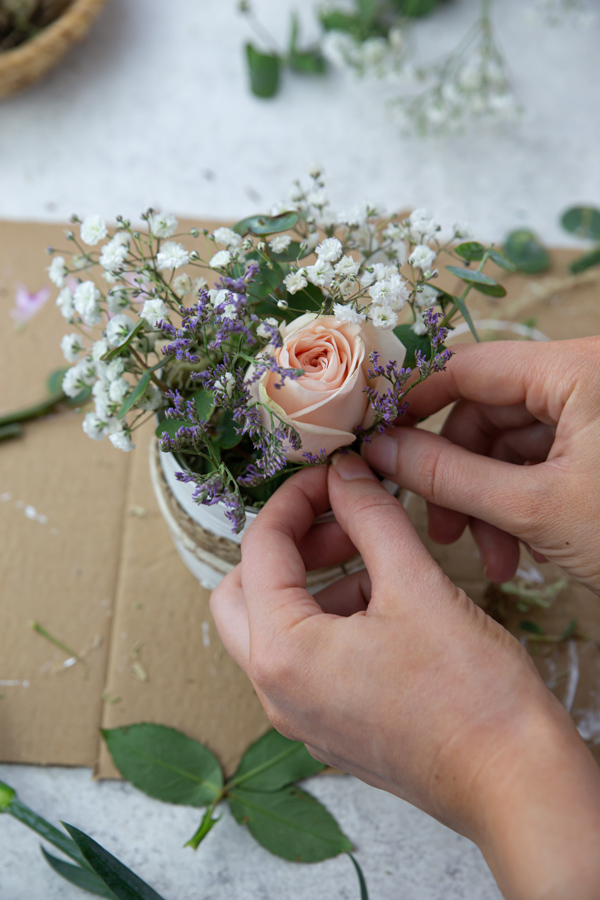
Then add your flowers and greenery of choice. Flowers and leaves with thinner/softer stems are a bit more difficult to stick into the floral foam. If you are having issues, you can add some wire around the stems for easier insertion.
Once you have your flowers arranged the way you like, add a bit more moss to fill any gaps.
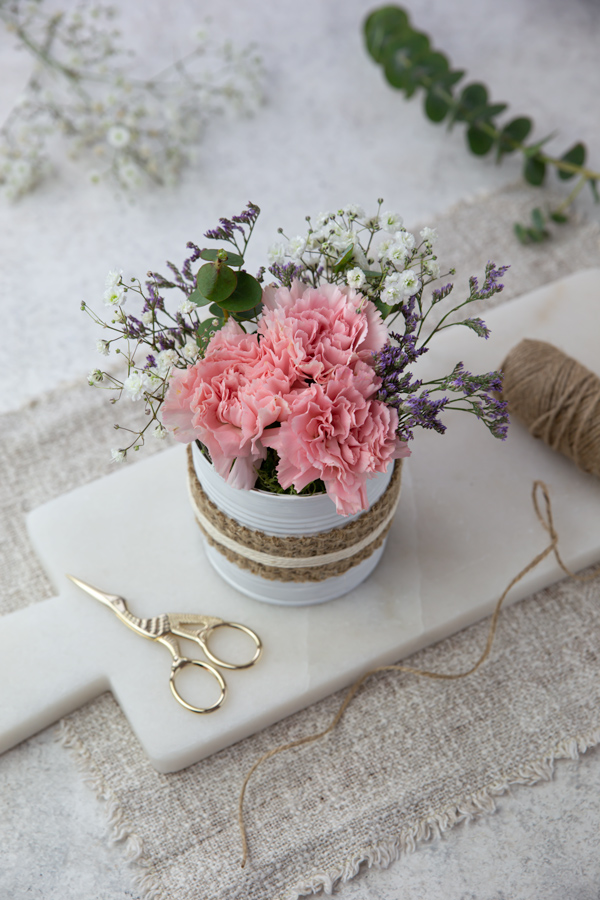
Et violà! Your DIY floral arrangements are ready to be displayed or gifted!
Pin it for later
MORE FROM MY SITE
Disclosure: This post may contain affiliate links, but these are all products I highly recommend. I won’t put anything on this page that I haven’t verified and/or personally used.
Tagged With: centerpiece, decor, diy, floral, floral arrangement, flowers, tin cans, upcycling
Filed Under: By Holidays & Seasons, By Topic, DIYs, Mother's Day, Spring & Easter, Uncategorized