DIY Herb Drying Rack
15 May 2022 by Natanja
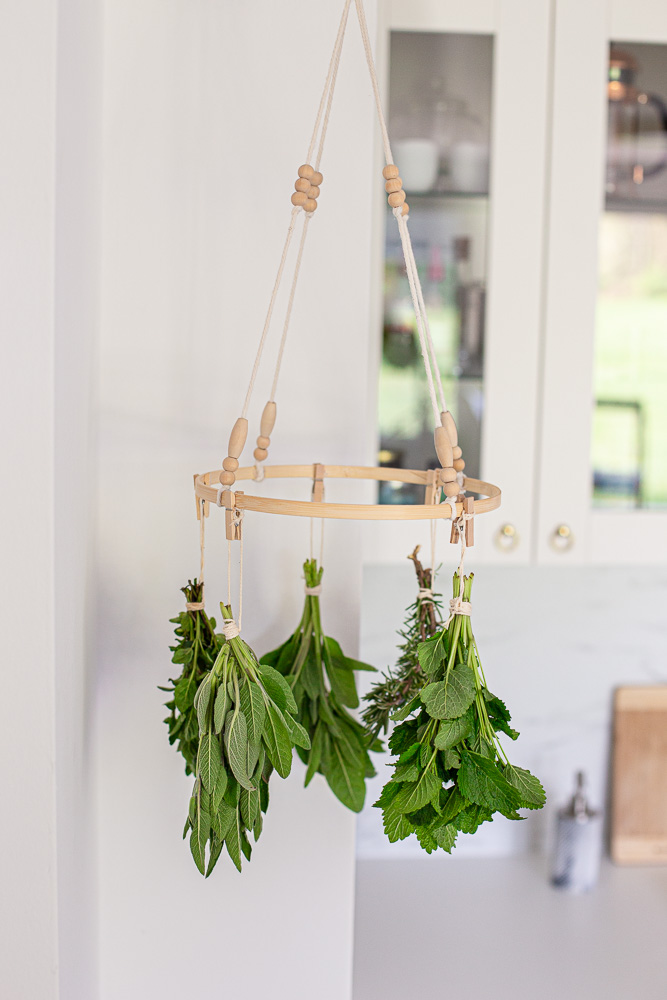
This minimalistic DIY herb drying rack is a practical and beautiful way to dry your herbs.
Here we are. After 5 years of vehemently swearing I would never DIY anything macrame, we find ourselves in an exceptional situation. However, due to my lack of artistic skills with anything thread related, I kept the actual macrame part beginner friendly. If you have never worked with macrame cord before, this is a great DIY to start with!
While the look of this herb drying rack is minimalistic, it is a nice décor item to add to your kitchen that doesn’t take up a lot of space and makes drying your herbs a breeze. In fact, if you have a little herb garden, this DIY will help you get more out of your harvest and enable you to use your own dried herbs throughout the entire year.

How to use your herb drying rack
Aside from herbs, you can also use it to dry flowers, greenery, spices and anything that isn’t too heavy. If you picked some wildflowers on a walk or hike, you can also use your DIY herb drying rack to dry them.
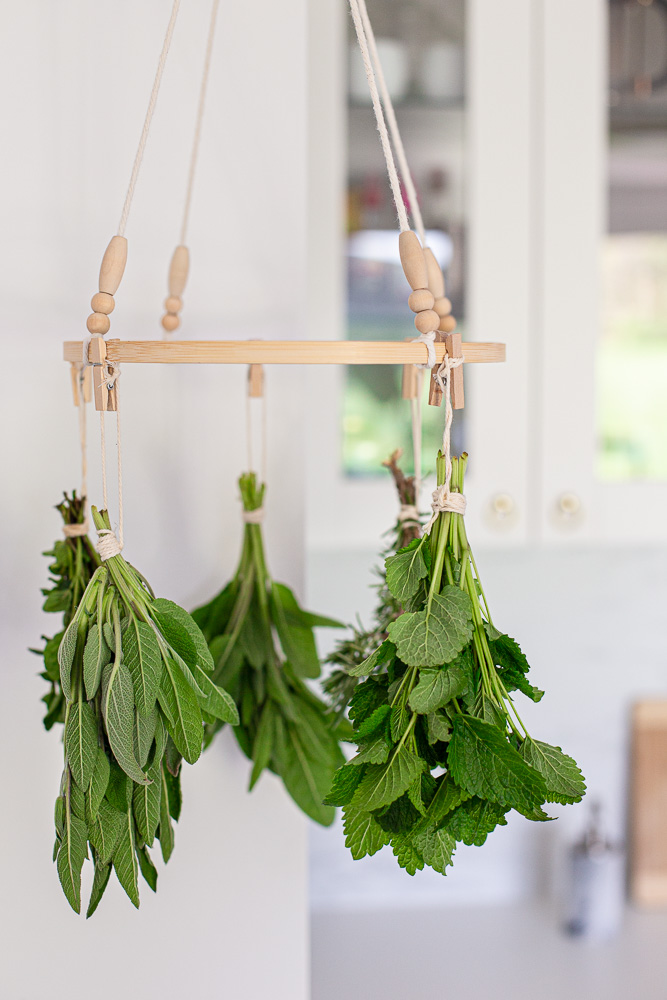
Tie your herbs into bundles with some twine – it helps to remove some of the bottom leaves. Don’t make the bundles too large, allow air to circulate through the herbs so they can dry evenly.
How long does it take for herbs to dry
Depending on what herbs you are drying and temperature of your home, it can take anywhere from 5-10 days for them to dehydrate. Larger leaf herbs take the longest to dry. Before storing them, make sure your herbs are perfectly dry to avoid mold.
After your herbs have dried, mince them if desired and store in airtight containers away from direct sun.
DIY Herb Drying Rack
Description
Make drying fresh herbs or flowers a breeze with this easy to make minimalistic DIY herb drying rack made out of wood and macrame cord.
Ingredients
- macrame cord
- wooden beads of choice
- 1 wooden hoop (about ø 23 cm/ 9 inches)
- hot glue gun
- macrame decorative wood ring
- 4–6 mini wooden pegs
- twine
Instructions
- Cut the macrame cord into 4 equal length strings of 1 m each.
- Measure 10 cm from one end of the string and tie a knot. Bead 3 of the wooden pearls onto the cord, letting them sit on the knot.
- Measure another 20 cm from the first knot and make a second knot. Bead 2 wooden pearls on the cord, letting them sit on the knot. (Repeat these steps for all 4 strings.)
- With a pencil mark 4 spots – with the same distance – on the inside of the wooden hoop.
- Tie the strings (the 10 cm we left at the bottom before the first knot) onto the markings. Remove any hangover and fasten with hot glue.
- Measure 20 cm from the second knot and wrap the strings through the bottom part of the wood ring – wrapping each around the bottom part. Measure your strings to ensure they are all the same length and then fasten with hot glue.
- Pull the strings up to the top part of the wood ring and wrap them through. Fasten with hot glue.
- Tie the ends into a knot and cut away the excess string.
- To hang herbs onto your herb drying rack, tie them into bundles with some twine and attach the twine to the mini wooden pegs, then clip your herbs onto the rack.
Keywords: wood herb drying rack, DIY herb drying rack, herb drying rack tutorial, ceiling herb drying rack
MORE FROM MY SITE
Disclosure: This post may contain affiliate links, but these are all products I highly recommend. I won’t put anything on this page that I haven’t verified and/or personally used.
Tagged With: diy, DIY herb drying rack, drying rack, herb, herb hanger, herbs, macrame
Filed Under: By Holidays & Seasons, By Topic, DIYs, Garden, Spring & Easter, Summer
[…] Get the most out of your herb garden harvest by making this beautiful drying rack today. homebakedbliss […]