DIY Hanging Spring Wreath
09 April 2021 by Natanja
Bring spring vibes into your home with this easy DIY hanging spring wreath with moss and fresh flowers!

Confession time. I find macramé incredibly intimidating. Maybe one day I’ll be one of those people who can craft artworks from a simple piece of thread, but for now, I’ll leave it to those talented individuals and stick to what I know. This includes, but isn’t limited to: cooking, upcycling, quoting movies, picking up stuff with my toes….and of course, simple DIYs. Enter this gorgeous DIY hanging spring wreath.
While most wreaths contain the décor on the wreath itself, we are doing things a little different today. When I found this cute little garland a few weeks back at the store, I knew I wanted to use it for a DIY. In the same week, a friend of mine gifted me two rattan wreaths, she didn’t have a use for anymore…can you see where I am going with this? And so, the idea for this spring wreath was born.

As I mentioned, anything macrame was off the table, which meant that the wreath itself had to be beautiful and eye-catching enough, so fancy-schmancy threadwork wouldn’t be needed. This is where the moss comes in. It creates a stunning presentation and gives our wreath an interesting texture, so that your eyes are immediately pulled to it, and not to the strings holding it. A hack for the untalented DIY-er so to say!
This wreath isn’t just easy to make, it also requires few materials. Perfect for those individuals who only DIY once in a blue moon.
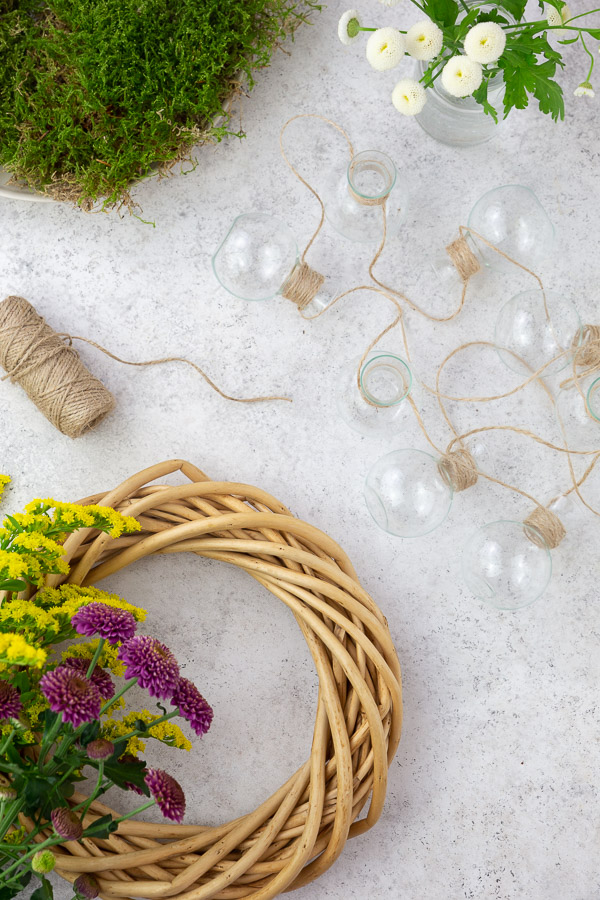
Materials needed
- A 22 cm ⌀ (8.6 inches) rattan or grapevine wreath
- 8 mini vases (I used a garland and cut it into separate parts)
- jute twine
- 2 sheets of moss, each about 26 cm x 30 cm (10.2 x 11.8 inches)
- hot glue gun
- flowers and greenery of your choice with small petals
Let’s begin!
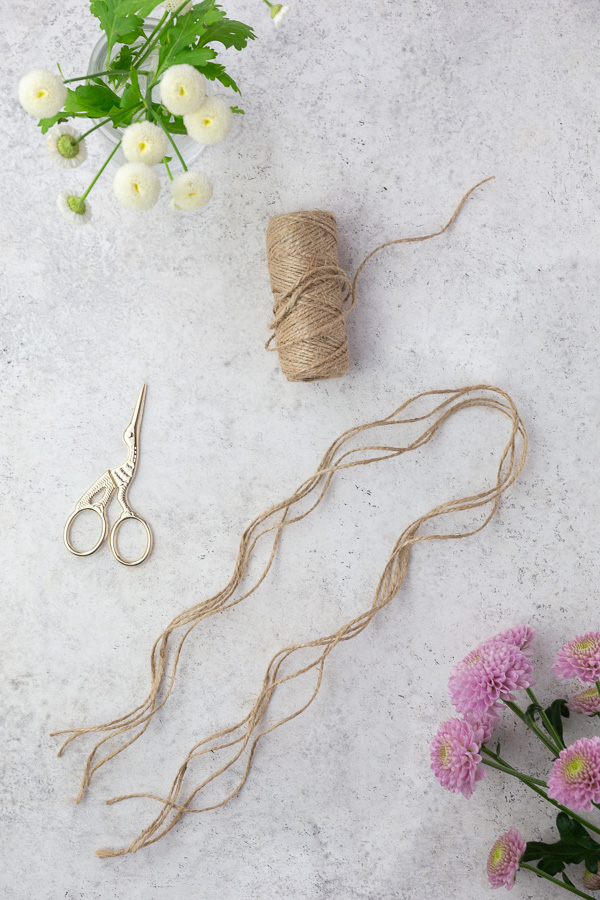
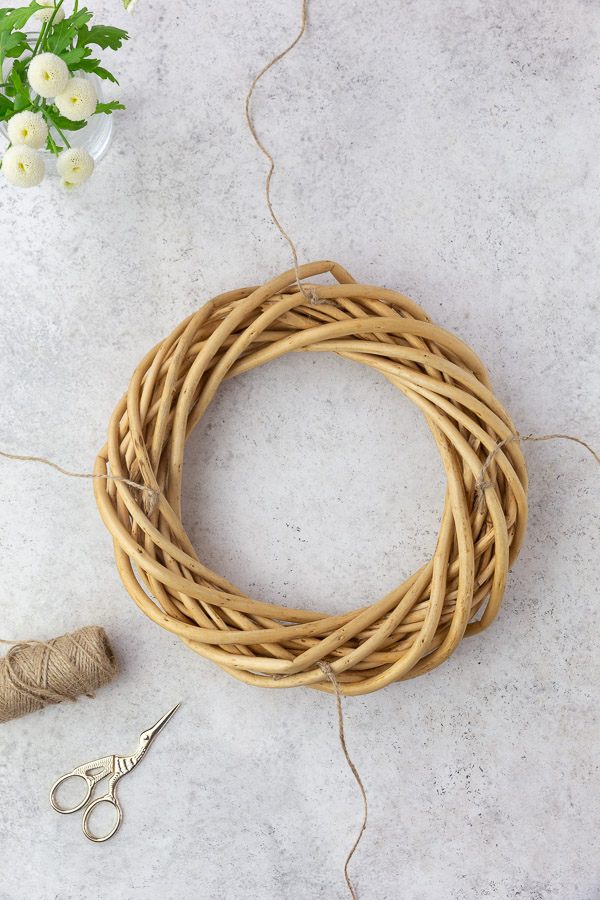
Cut the twine into 4 strings, each about 70 cm (27.5 inches) long. Fasten the strings in a cross pattern onto the wreath.
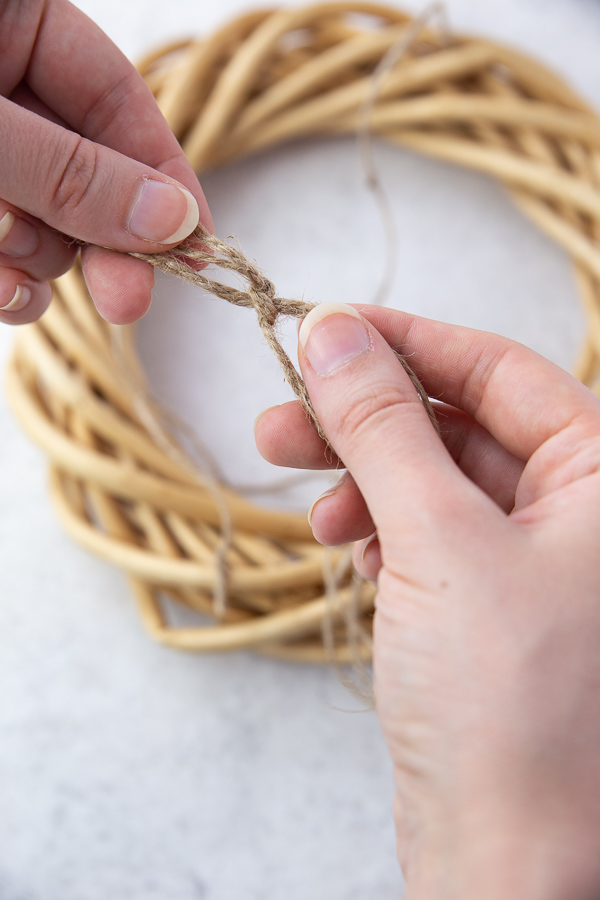
Take all 4 strings and tie a knot at the top.
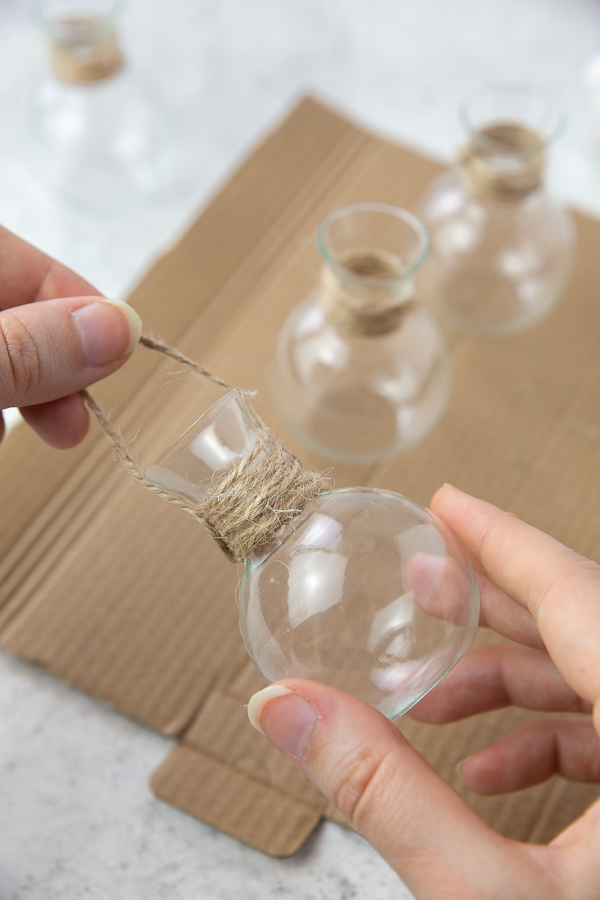
If using mini vases from a garland, remove them from the garland string. Cut 8 strings of twine into 55 cm (21.6 inches) long pieces. Tie each of the strings around the mini vases and fasten them with a dab of hot glue on each side, so you have two separate strings on opposing sides.

Hang all of the mini vases onto your wreath. Secure them with a bit of hot glue, so they won’t move as you are adding on the moss.

Close the tops of your vases with a bit of washi tape, to avoid moss getting in. Take chucks of moss, about the size of your hand, spread some hot glue onto them and quickly stick them around the wreath. (It’s easier of you hang the wreath somewhere or have someone hold the twine away.) Once you have covered the entire wreath, check all sides and fill in any gaps with additional moss.
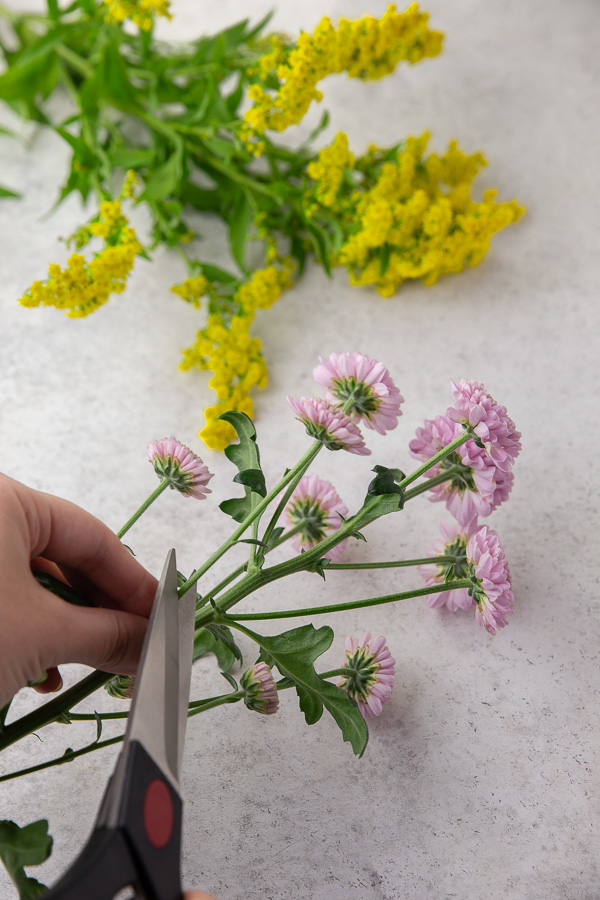
Remove the washi tape from the vases and clean them. Hang your wreath where you want to display it. Fill each vase with water and add your flowers and greenery of choice.

That’s it! All that’s left to do is to refill the water regularly and replace the flowers once they start to wilt.
MORE FROM MY SITE
Disclosure: This post may contain affiliate links, but these are all products I highly recommend. I won’t put anything on this page that I haven’t verified and/or personally used.
Tagged With: diy, floral, flowers, moss, spring, spring wreath, wreath
Filed Under: By Holidays & Seasons, By Topic, DIYs, Spring & Easter, Trending now