DIY Instagram Flower Box
05 May 2018 by Natanja
A gorgeous DIY flower box with real roses that is incredibly easy to make. Perfect as a last-minute Mother’s Day gift!
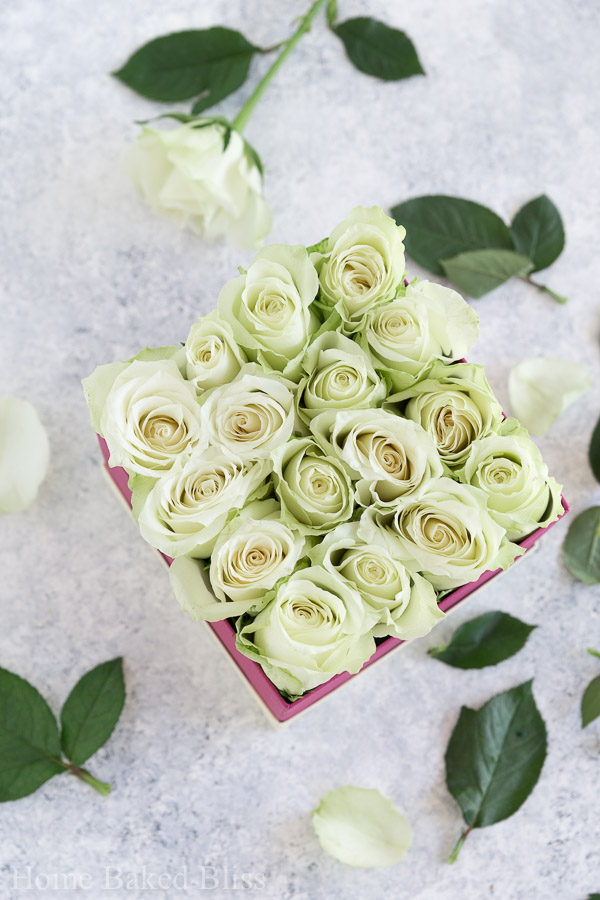
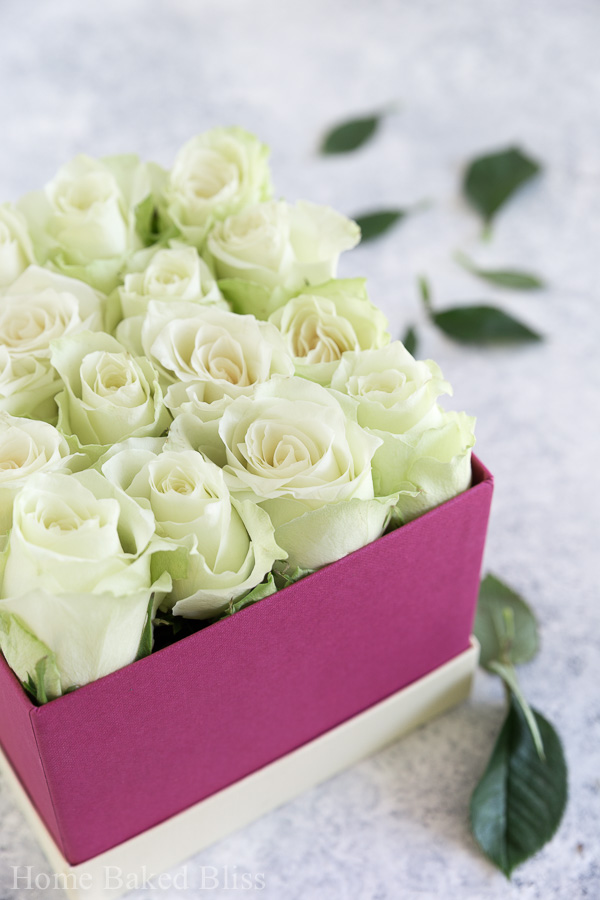
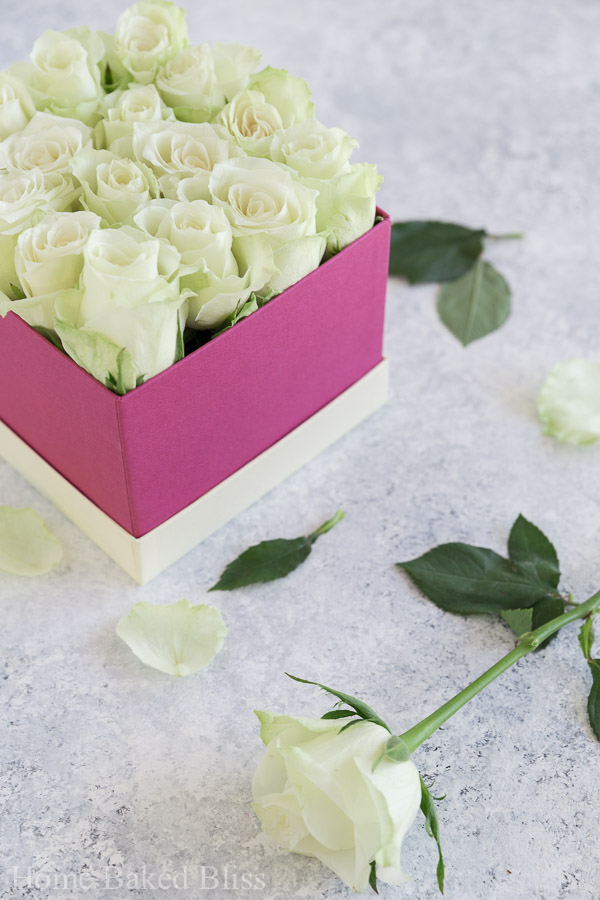
If you are on Instagram then you have probably seen one of these beautiful rose flower boxes before. They come in all different kinds of shapes and sizes and look absolutely stunning. As gorgeous as they look, they are also quite pricey. A box about the size of my DIY version here costs about 200chf. Despite the roses being preserved and lasting up to 2 years, it’s still a pretty steep price for literally a box of roses. So I decided to diy my own version for a fraction of the price. Sure my version only lasts about a week, but it makes a wonderful gift now that Mother’s Day is coming around.
Speaking of Mother’s Day, have you already planned what to get your mom and how to celebrate the day? I typically throw a special brunch for my mom or make a special dessert. Starting this year, however, I cannot celebrate with her because we now live 780km away. Nonetheless I am surprising her with a little care package (obviously including her ultimate favourite chocolate, Mon Chéri). At least it will be as much of a surprise as the Swiss postal service allows it. (They make you write all the items that are inside onto the box as well as the price for each item…they seriously do not understand the concept of a surprise gift!). If anyone from the Swiss postal service is reading this, I hope you got my subtle hint. I am not happy with this!
This project is great for anybody who isn’t a talented DIY-er (myself included). I do not have the patience for complicated and long diys so I do not start anything that looks all too difficult. If you find yourself included in this category, this diy rose box is perfect for you. It is an incredibly beautiful and thoughtful gift without the hours of work. It comes together quickly and the items needed are very straight forward. So without further ado, let’s jump right in.
Items needed
- gift box of choice
- trash bag
- floral foam*, the size of your box
- sharp knife
- measuring tape
- fresh roses of choice
- scissors
*You can purchase floral foam on Amazon in any flower store. It usually comes in a standard size. Depending on how big your box is you might need 2.
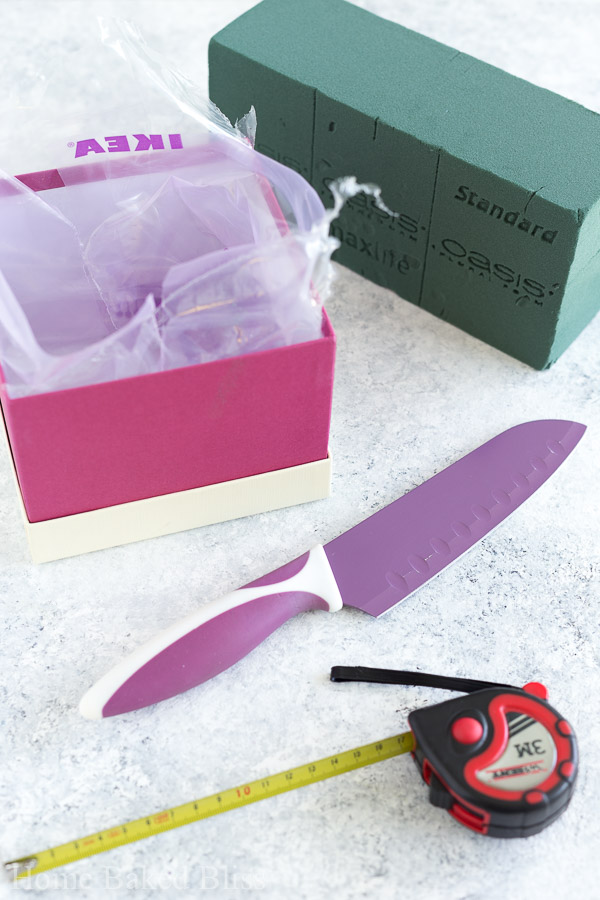
Measure your box and, using a sharp knife, cut the floral foam into the shape of your box, making it a little bit smaller than the measurements of your box. Place a trash bag into the box. (This will prevent the box from soaking up the water from the floral foam.)
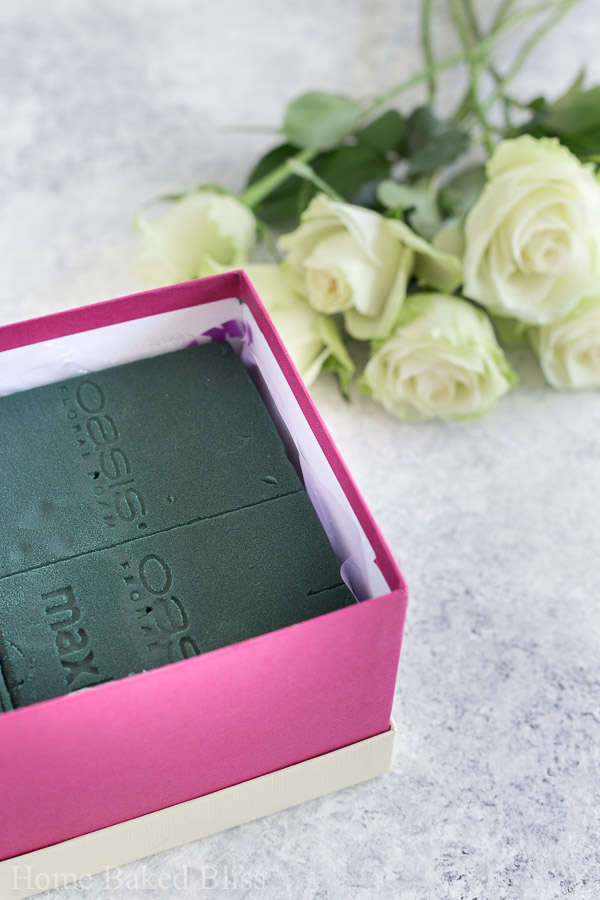
Now soak the foam in water for a few minutes. Let any excess drip off before placing it into your box lined with the trash bag. Cut away any excess from the trash bag.
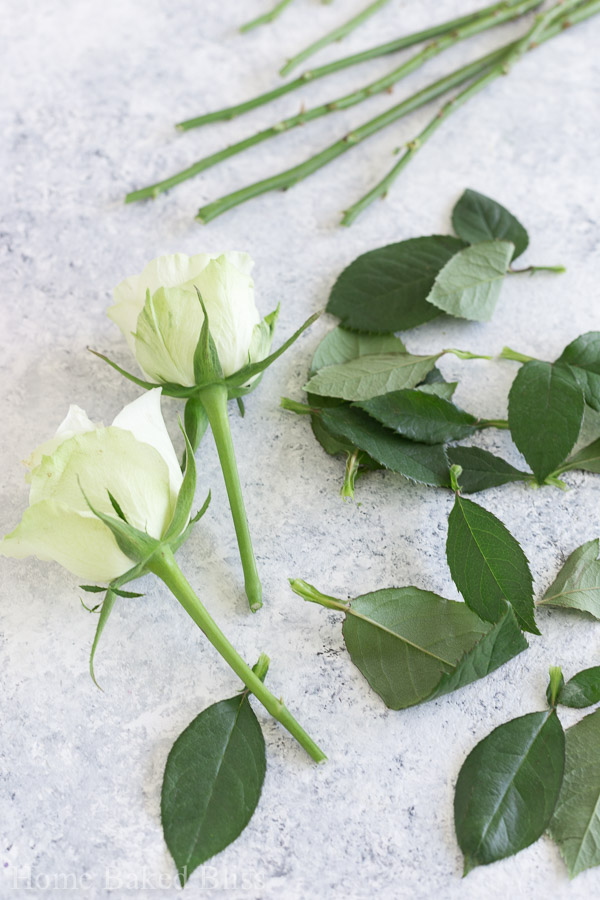
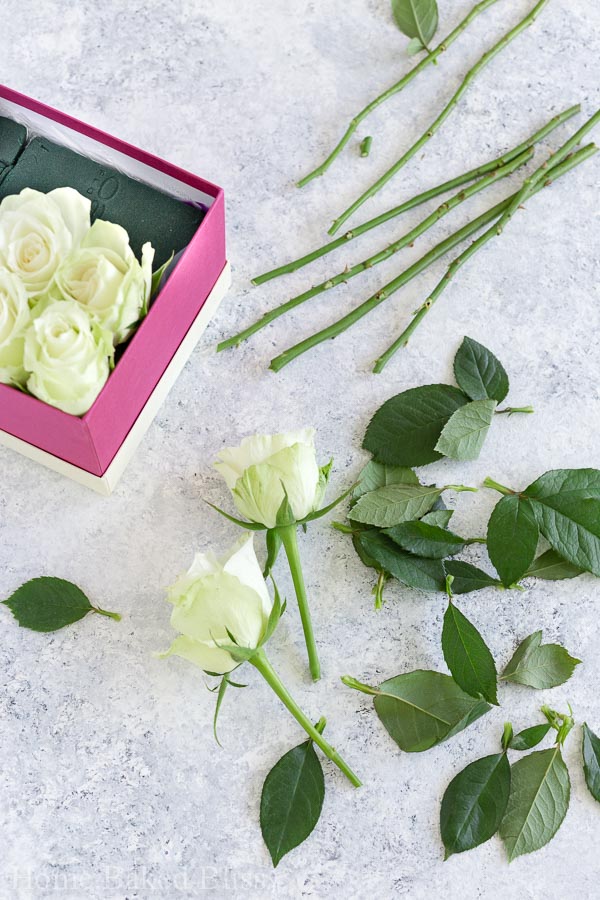
Shorten the roses to match the height of the box. Remove any leaves. Stick the shortened roses into the floral foam. For the size of my box, I did 4 rows each, using a total of 16 roses. Continue until the box is full.
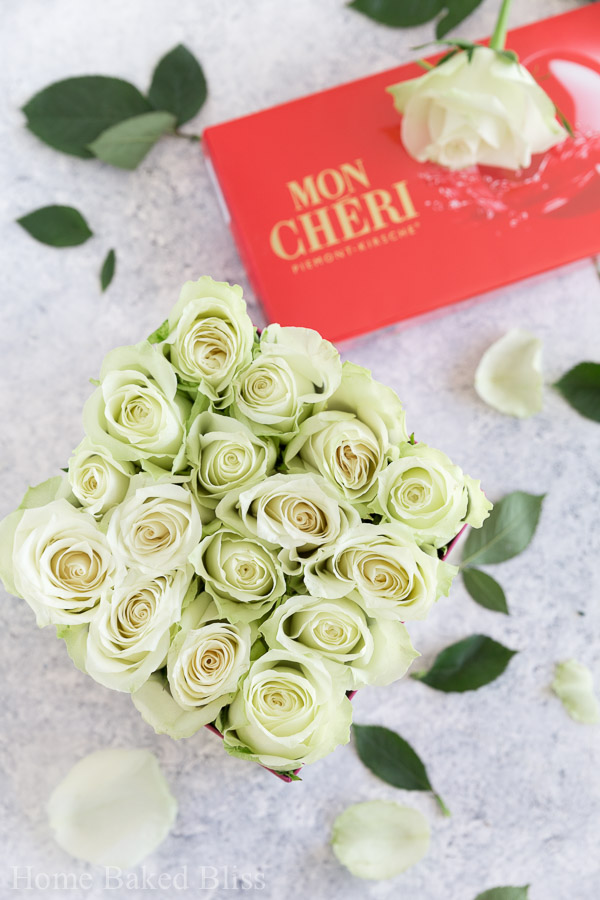
Let me know down in the comment section below if you try this DIY. Happy Mother’s Day to all those amazing moms out there! ♥
MORE FROM MY SITE
Disclosure: This post may contain affiliate links, but these are all products I highly recommend. I won’t put anything on this page that I haven’t verified and/or personally used.
Tagged With: diy, diy flower box, diy gift, diy rose box, flower box, flowers, gift, Mother's Day, Mother's Day gift, rose box, roses
Filed Under: Birthday, By Holidays & Seasons, DIYs, Mother's Day
